2026-07-09
Safe Zones in Vertical Video for Reels and TikTok
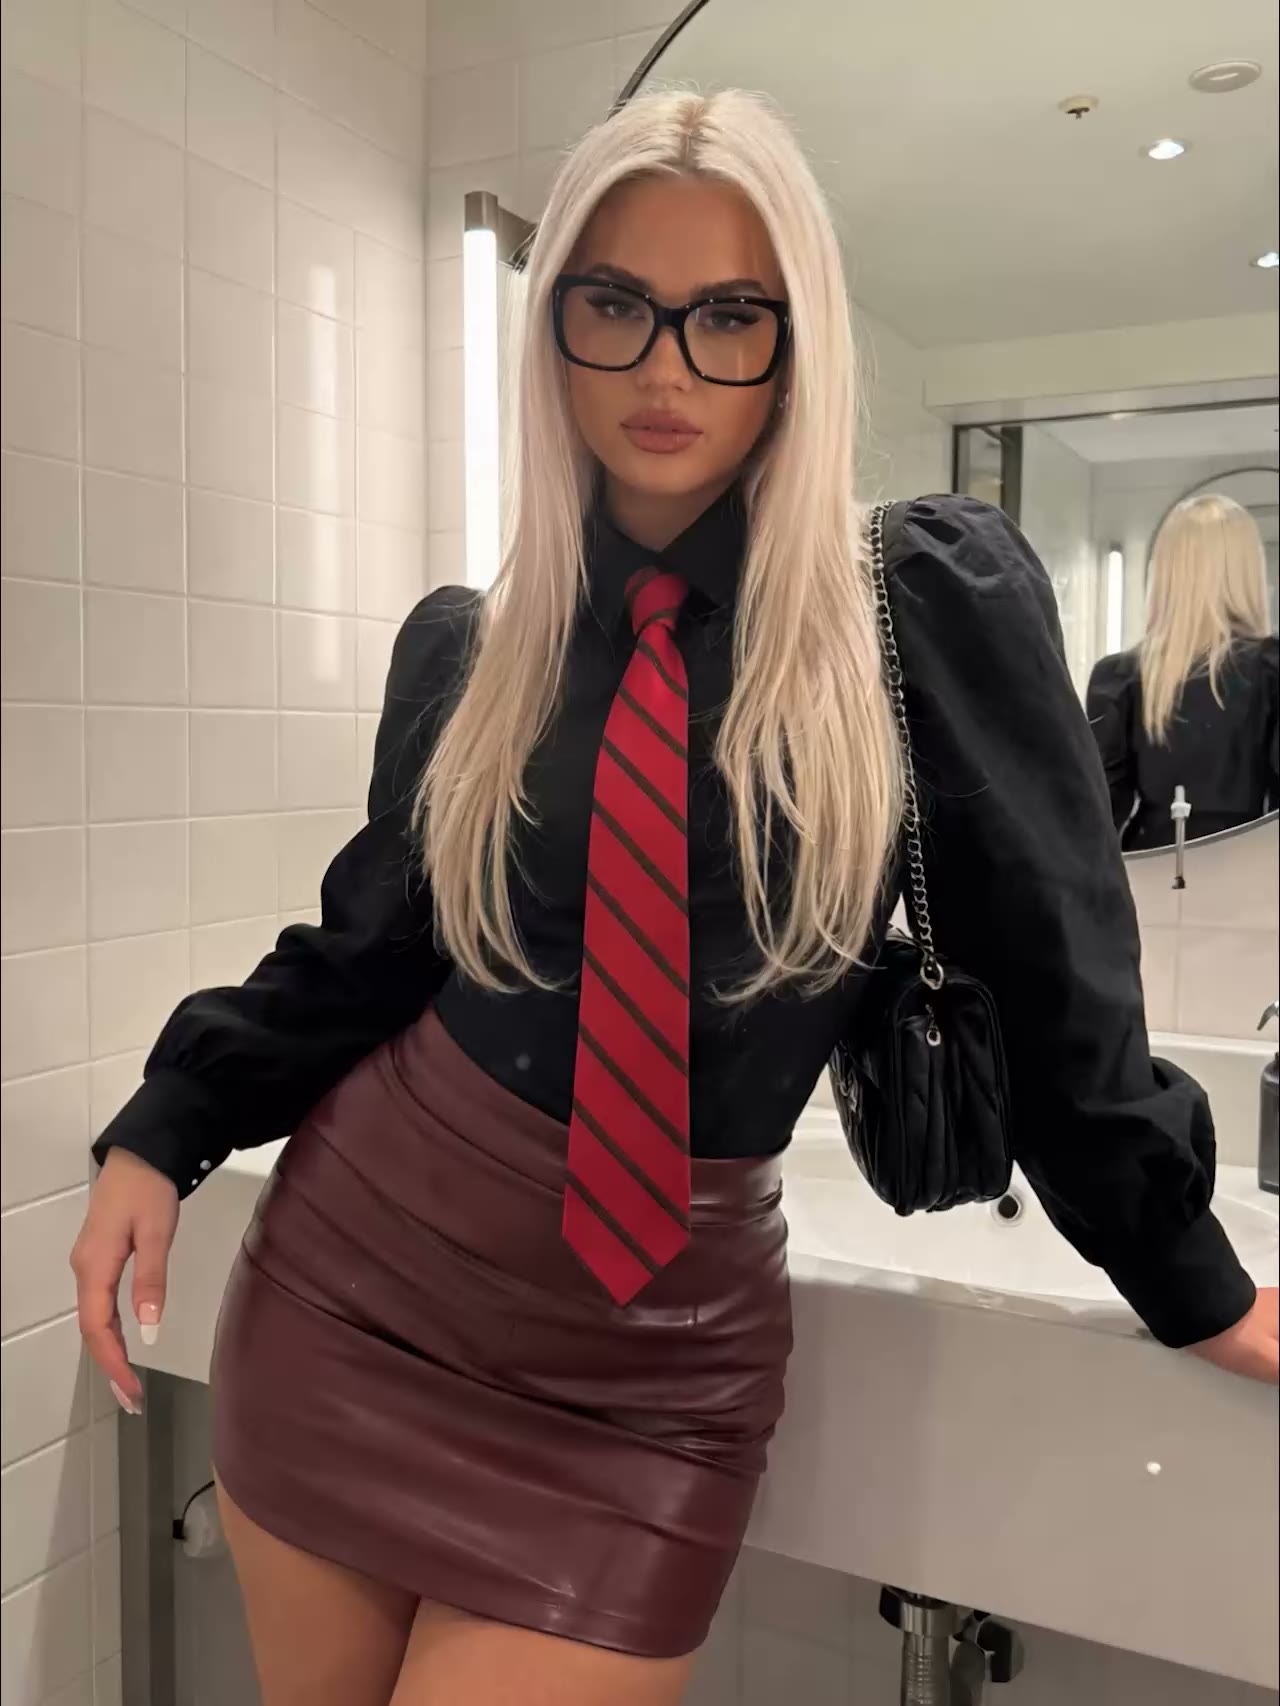
A safe zone in vertical video is the central part of your 9:16 frame that stays clear of the app's buttons, captions and profile info. Anything that truly needs to be seen, your text, your face or a product shot, you keep inside that zone. You can still fill the rest of the frame, but count on the edges partly disappearing behind the interface.
That sounds obvious, but it goes wrong often. You render a tight 9:16 video, and on TikTok your call-to-action suddenly sits half behind the share button. Below you'll read where the interface overlaps your frame and how to account for it right in your AI render.
What exactly does the interface cover?
The bottom edge and the right edge are the riskiest. The bottom holds the caption, the username and the audio bar; the right holds the vertical column with the like, comment, share and save buttons. The top often carries search or navigation info.
On a 1080 × 1920 frame you're best off keeping a central safe zone of roughly 1080 × 1420 pixels, plus a right-hand column of about 120 pixels free for the buttons (according to safe zone guides for 2026). At busy moments, for example when someone expands the caption, the bottom edge creeps up even further. So treat the bottom 25 to 30 percent as "do not use for anything important".
Where do you place text and your face?
Put everything that needs to be read or seen in the upper two thirds of the frame. That's the zone that stays visible on nearly every device and platform.
- Important text and your CTA: upper half, well clear of the bottom edge.
- Face and eyes: keep them out of the right column, otherwise the buttons run across them.
- Logo or watermark: small, top-left or centered, not in a corner that gets clipped.
Think about breathing room too: leave some air above the head and around the subject, so a tight crop on another device doesn't cut off anything important.
How to build it into your AI render
Start in the right format. Generate your image straight away in 9:16 with the video generator or the photo generator, so you don't have to crop afterwards and ruin the composition.
- Describe the composition with space: "subject centered, room at the bottom, head not against the top edge".
- Keep the right half calmer, so the button column doesn't touch a face or text.
- Place any text you add later in the upper two thirds, not in the bottom strip.
- Check the result with a safe-zone overlay or by watching the video in the app preview before you publish.
One shot, multiple platforms
The overlays of TikTok, Reels and Shorts differ slightly, but they cover roughly the same edges. So design for the strictest version: stick to the tightest safe zone and the same render works on all three platforms without re-rendering per platform. That saves time and, since you pay per render, money too.
Frequently asked questions
How large is the safe zone exactly?
Count on a central zone of roughly 1080 × 1420 pixels within a 1080 × 1920 frame, plus a free right-hand column of about 120 pixels for the buttons. With expanded captions the bottom edge can creep up further, so it's safer to keep the bottom 25 to 30 percent entirely clear of important content.
Do I need a separate video for each platform?
Usually not. If you design for the strictest safe zone, your important content stays visible on TikTok, Reels and Shorts. Only when a platform puts a feature dead center is a separate version worth it.
What if my subject still falls in the right column?
Regenerate with the composition shifted slightly to the left, or use image-to-image to move the frame. Cropping afterwards works, but often costs image quality at the edges.
Ready to make vertical videos that stay readable everywhere? Create an account and render your first 9:16 clip neatly inside the safe zone.