2026-08-13
Three-point lighting in AI photos: key, fill, back
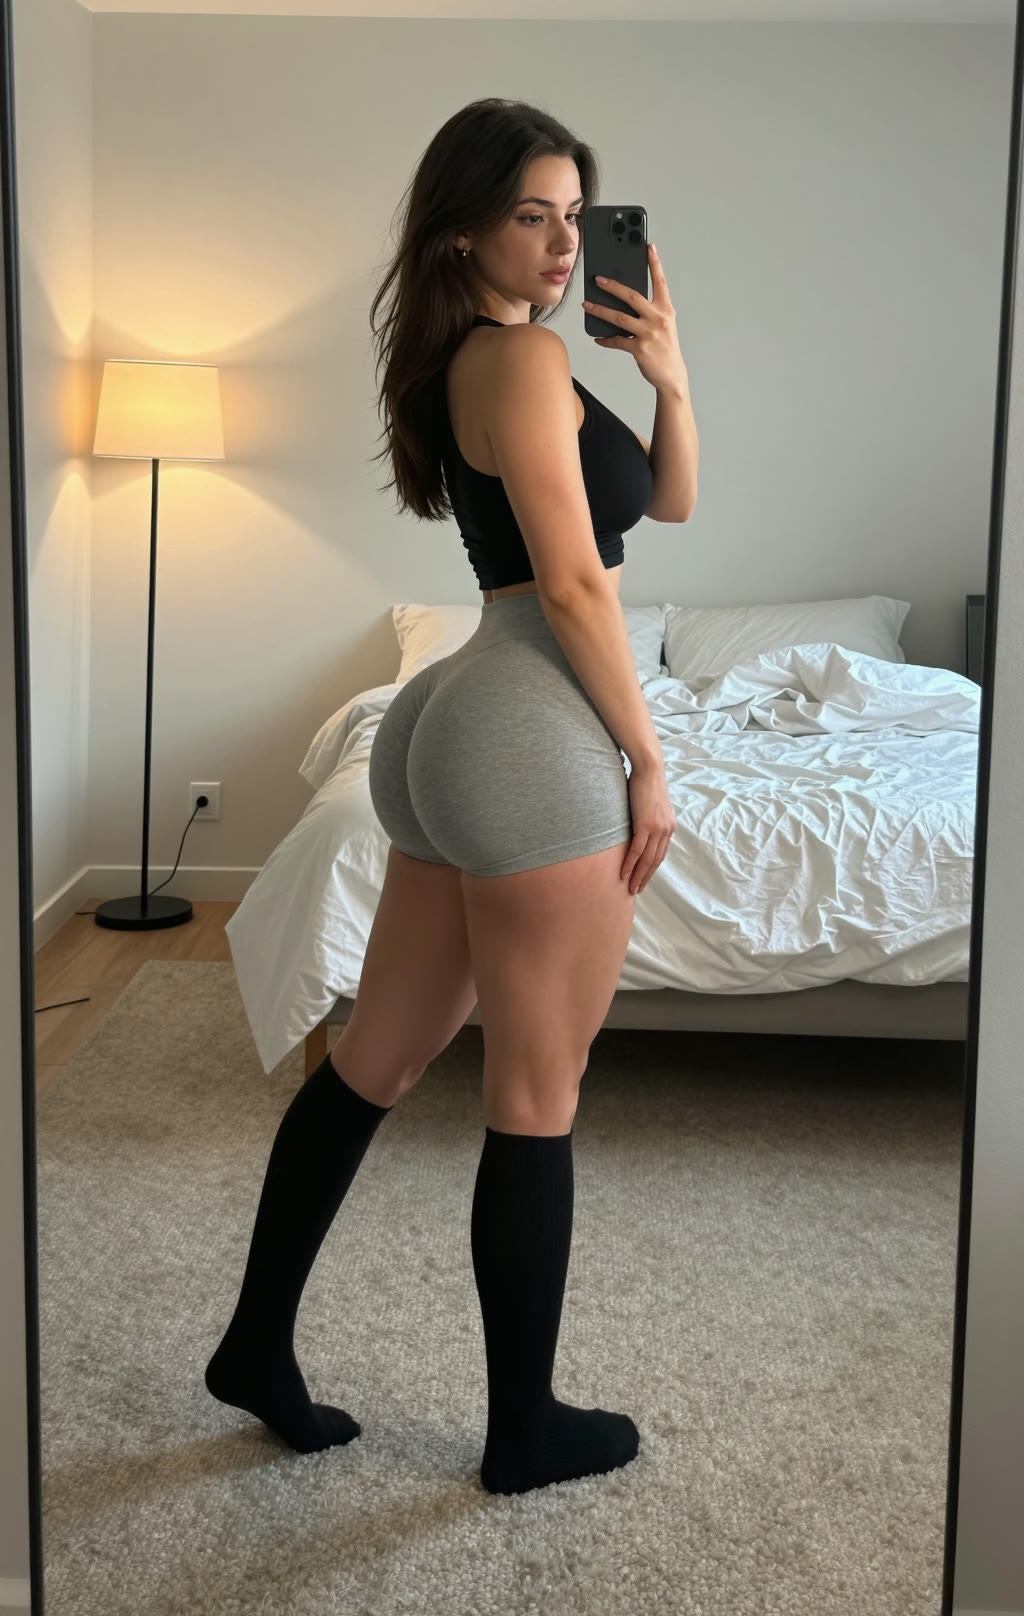
You steer three-point lighting in an AI photo best by naming not one lighting term but all three roles together: a key light, a fill light and a back light. Together they give your subject shape, soft shadows and separation from the background, exactly what a flat, evenly lit AI portrait is missing.
What is three-point lighting?
Three-point lighting is the standard setup in photography, film and computer animation where you light a subject with three sources that each have their own job. According to Wikipedia it is "a standard method used in visual media such as theatre, video, film, still photography, computer-generated imagery and 3D computer graphics". Each light does something different:
- Key light: the main source, which sets the mood and the shape of the face.
- Fill light: a softer, weaker light that fills in the shadows cast by the key.
- Back light: light from behind that draws a rim along hair and shoulders and lifts your subject off the background.
Why one lighting word is too little for an AI photo
Most prompts name just one lighting word, like "soft light" or "cinematic lighting", and leave the rest to the model. Then the model guesses the setup, and you often get a flat face with no relief, or harsh, uncontrolled shadows.
Name all three roles and you hand the model a complete lighting plan instead of a single loose hint. Ask only for a rim light and your subject separates from the background but the face stays flat. Ask only for a key light and you get deep shadows with no fill. The three together steer the image most reliably.
The three lights and what each one does
Each light has a fixed place and task. Steer them on purpose instead of hoping the model guesses right.
- Key light: place it at an angle in front of your subject. According to StudioBinder, around 45 degrees off the camera axis works best, with a usable range of roughly 15 to 70 degrees. This light sets the whole look.
- Fill light: put it on the opposite side, softer and weaker than the key, up to about half its strength. It decides how deep your shadows get: more fill flattens the image, less fill makes it dramatic.
- Back light: place it behind your subject, high and aimed slightly down. It draws a thin rim of light along the contours and lifts your subject off a dark or busy background.
How to ask for all three in your prompt
Image models know these photography terms, so you do not have to draw a lighting diagram. For each light, name the role, the side and optionally the color.
- Key light: "soft key light from the front-left at 45 degrees".
- Fill light: "a softer fill light on the right to lift the shadows".
- Back light: "a warm rim light behind her separating her from the background".
Example line in your prompt: "studio portrait, three-point lighting: soft key light from the front-left at 45 degrees, a softer fill light on the right, and a warm rim light behind the subject, dark background."
You do not have to spell out all the technique. Even naming just the three roles ("key light, fill light and back light") often gets the basics right. Repeat the exact lighting block in every prompt if you want a series to stay consistent. Save it as a fixed building block through the prompt generator, for example.
Lighting ratio: how much contrast do you want?
The lighting ratio is the difference in strength between your key light and your fill light, and it decides how hard or soft your shadows look. Two common values:
- 2:1 (soft): the fill light is half as strong as the key, which is one stop of difference. This gives soft, natural shadows and suits everyday portraits.
- 4:1 (dramatic): the key light is four times as strong, which is two stops of difference (StudioBinder). This gives stronger shadows and a more cinematic, moodier look.
In a prompt you translate that into language: "even, soft lighting with gentle shadows" for a low ratio, or "high-contrast lighting with deep shadows" for a high one. For a dark, dramatic image, keep the fill light weak or leave it out.
Three-point lighting in AI video
In video the same principle holds, with one extra point of attention: the lights must not flicker between frames. So describe them as fixed sources in the scene rather than loose effects.
Say "lit by a window on the left and a lamp behind her" instead of a bare "three-point lighting". That gives the model a reason for each light and keeps the lighting stable while your subject moves. To bring a lit portrait to life, that works best in the video generator.
Frequently asked questions
What is the difference between three-point lighting and rim light?
Rim light is the back light, so one of the three lights. Three-point lighting is the complete setup that also includes a key light and a fill light.
Do I really need all three lights?
Not always. A key light plus a back light already gives shape and separation. The fill light mainly decides how much shadow you keep, so for a dramatic image you keep the fill weak or leave it out.
Which lighting ratio should I pick for an ordinary portrait?
A 2:1 ratio, where the fill light is half as strong as the key, gives soft, natural shadows. If you want more drama and texture, move to 4:1 or higher.
Does three-point lighting also work with daylight instead of studio lamps?
Yes. A window can be your key light, a white wall or reflector your fill, and the sun from behind your back light. Describe those sources in your prompt and the model lights it the same way.
Three-point lighting is the fastest way to give a flat AI portrait shape and depth: name the key light, the fill light and the back light, and choose your lighting ratio on purpose. Create an account and test the same pose with just "soft light" and then with the three roles named in the photo generator. You pay per render, no subscription, so a few comparisons cost you little.