2026-08-29
Replace an object in your AI photo, not just remove it
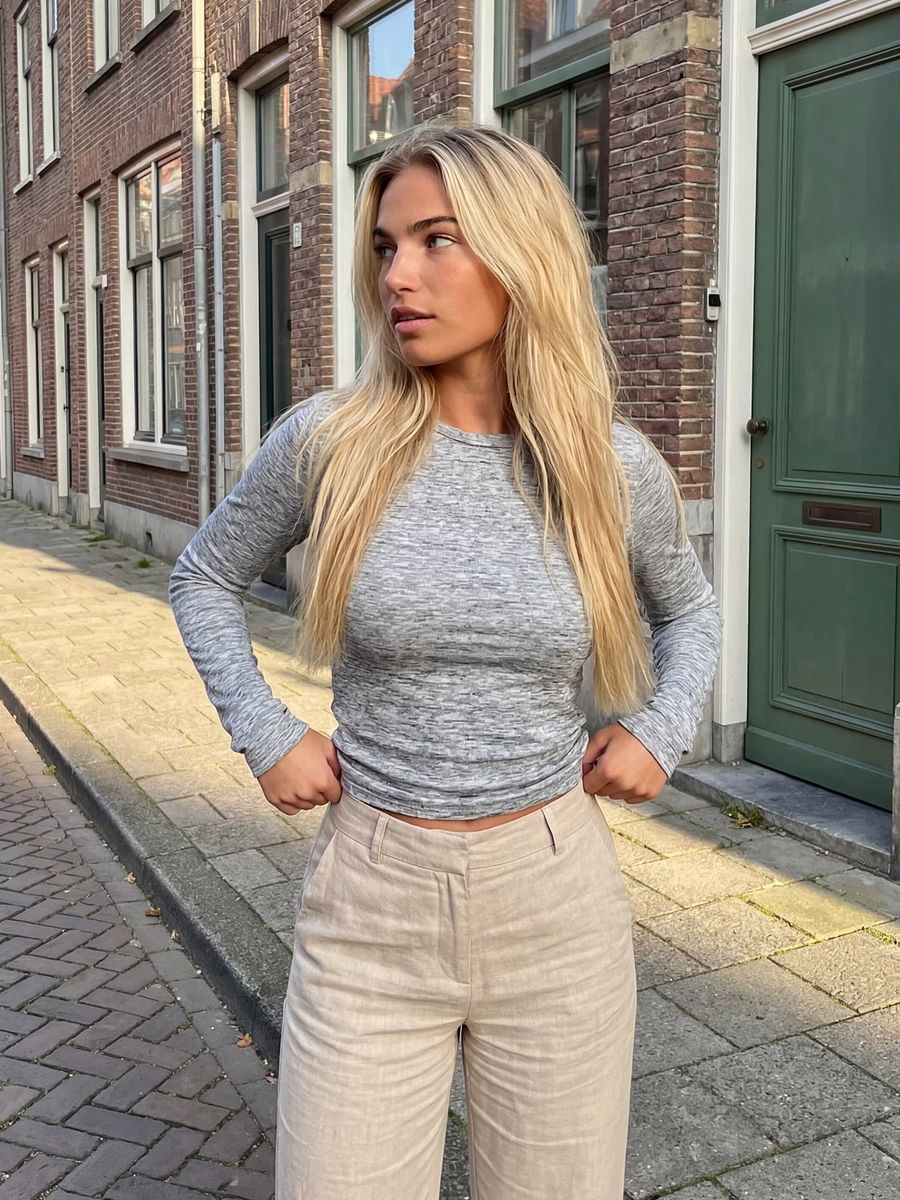
Replacing an object in your AI photo is done with inpainting: you mask exactly that object, describe in a prompt what should take its place, and the AI regenerates only that area and makes it fit the rest of the image. Removing is the easy half. Putting something new in the exact same spot, with matching light and scale, is where it usually goes wrong.
Replacing, removing and swapping the background are three things
When you remove, you leave the prompt empty: the AI fills the masked area with the surroundings, as if the object was never there. When you replace, you do give a prompt, so a new object appears in the same spot. Swapping the background is different again: there you mask the subject and change everything around it. Decide on purpose which of the three you need, because each one calls for a different mask and a different prompt.
AI photo editing is no longer a niche. Adobe's Firefly, which powers features such as Generative Fill (where you add, remove or replace objects with a selection and a text prompt), had already generated more than 18 billion images by early 2025, according to Adobe. The technique is mature; the difference is in how you use it.
How to approach an object replacement step by step
- Mask the object tightly, with a small margin around it so edges and shadow are included.
- Briefly describe what should appear: the object, the material, the color and the size.
- Choose how much change you allow (see the next section).
- Generate two or three variations and pick the best; because you pay per render, iterating costs little.
Keep the rest of your prompt short. The model only has to reinvent the masked area, not the whole scene. Too much text about the untouched parts is a distraction.
How much change do you need?
The amount of change (in many tools "denoising strength") sets how far the AI may stray from what was there inside the mask. At zero nothing changes; at the highest setting the AI ignores the original entirely and follows only your prompt. For a real replacement, like a different chair or a different product, you need a high value. For a subtle swap, like the same mug in another color, a lower value works better, because shape and light are then preserved.
Set the value too high and the new piece can detach from the rest and look like a pasted-in patch. Set it too low and the old object keeps showing through. You usually find the right setting within a few renders.
Why a replacement stands out, and how to prevent it
Most failed replacements give themselves away on four points: light, scale, shadow and the edge of the mask. A modern inpaint tool reads the whole photo and tries to match light direction, color and reflections, but you still have to steer it.
- Light: name where the light comes from, so the new object is lit on the same side.
- Scale and perspective: let the replacement object take up the same space as the old one, otherwise the size is off.
- Shadow: ask for a contact shadow where the object meets the floor or table, otherwise it looks like it is floating.
- Mask edge: too tight a mask leaves traces of the old object; too loose a mask changes the surroundings along with it. A small, even margin works best.
Prompt tips for a believable replacement
Describe the new object concretely and tie it to the scene. "A cognac-colored leather armchair, same size as the old chair, soft window light from the left, with a contact shadow" steers better than just "an armchair". Name the material and finish, because they decide how the light behaves. If you only want to swap a color or material, say so explicitly and keep the rest unchanged. And keep your source photo: often the same photo with a slightly different prompt gets you to your goal faster than a completely new generation.
Frequently asked questions
What is the difference between replacing and removing an object?
When removing, you leave the prompt empty and the AI fills the area with the surroundings. When replacing, you give a prompt, so a new object appears in the same spot. Same mask, different result.
Why doesn't the lighting on my replaced object match?
Usually because the prompt says nothing about light. Name the light direction and the mood of the photo, and ask for a fitting shadow. Then the model tunes the new object to the existing lighting.
How large should I make the mask?
Just a little larger than the object, with a small margin so edges and shadow are included. Too tight leaves traces; too loose changes the surroundings.
Can I replace one product without touching the rest of the photo?
Yes, that is exactly what targeted inpainting is for. Only the masked area is regenerated; the rest of the photo stays untouched.
Editing an existing photo instead of making a new one saves time and renders. Want to try it? Create an account and open the AI Photo Editor to replace your first object.