2026-07-22
Night Scenes and Neon in AI Photos: Dark Without Noise
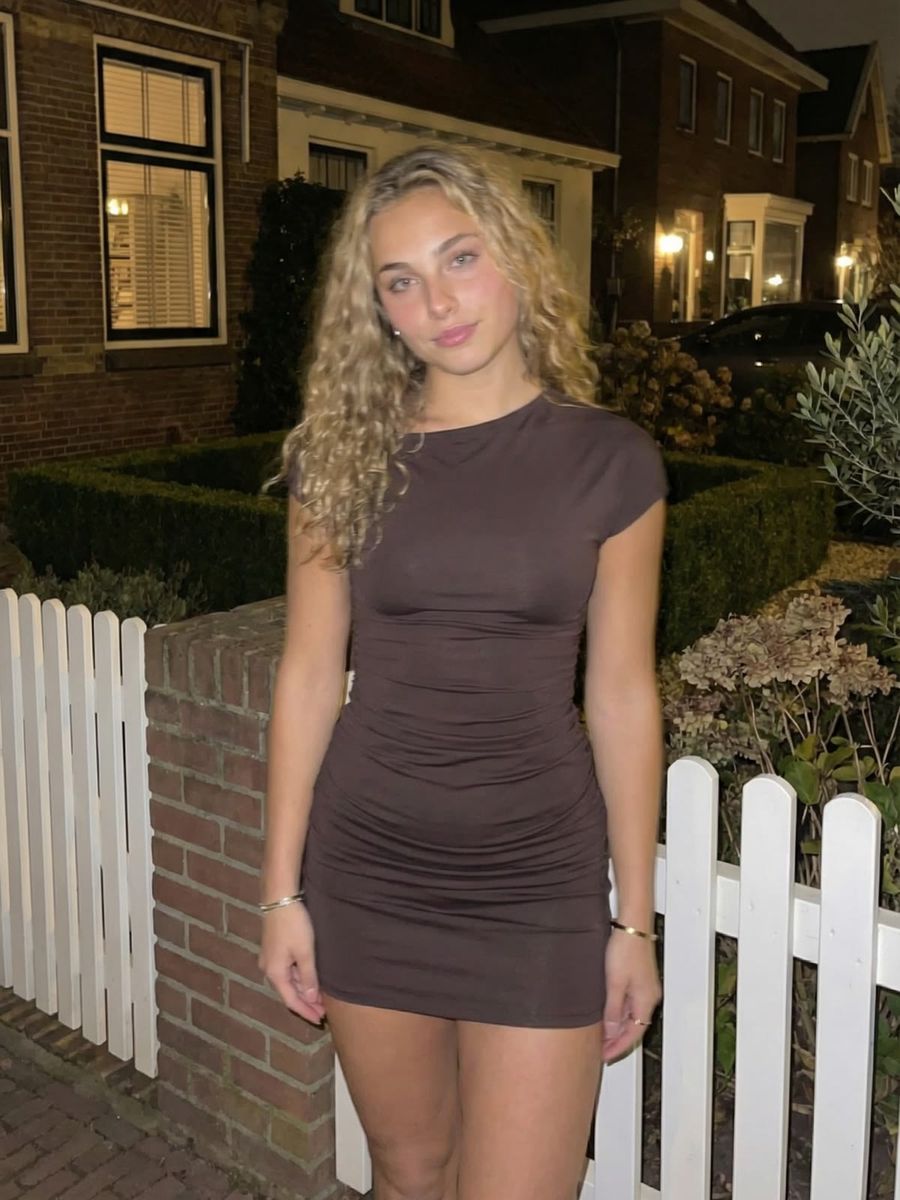
You steer a convincing AI night scene not by asking for "dark", but by describing the light sources: in a photo, night is not the absence of light but a small number of clear sources against a truly black background. Ask for "night" alone and you often get twilight with a gray haze, a blown-out neon sign or a dark sky full of stripes. Below you'll read why that happens and how to fix each problem.
Why your night scene looks like dusk
Image models lean toward well-lit results, because the vast majority of photos they were trained on are well exposed. "Night" therefore often produces a kind of blue dusk with far too much ambient light, as if someone pressed the light switch halfway.
The solution is to make the light explicitly scarce. Name the time of day and, more importantly, which sources do exist:
2 a.m., moonless night, the street lit only by a single streetlightthe only light comes from a neon sign and a shop window
The word only does the work here. You're not telling the model it's dark, you're telling it where the little light comes from.
Also choose your sky deliberately. Above a city, the night sky is never pitch black but a dark orange-gray from light pollution, while a rural sky is much deeper black with visible stars. Say which of the two you want, or you'll get an average that belongs to neither.
Gray blacks: ask for low-key, not for darker
Low-key is a lighting style in which most of the frame stays dark and only the subject catches directed light. That is exactly what you want at night, and it steers far more reliably than stacking dark-words. "Dark, very dark, gloomy" usually makes the image underexposed and gray, not contrasty.
Useful building blocks:
low-key lighting, deep blacksthe background falls to pure blackstrong contrast between the lit subject and the dark street
Light one side of your subject and let the other side fall into shadow. A face that is equally bright on both sides gives away that there is no real light source in the scene.
Steering neon: name the color and limit the count
Real neon has only one color of its own: pure neon gas glows reddish-orange, and every other hue comes from different gases and coatings, such as an argon-mercury mixture with a phosphor layer for blue. Sign makers can now choose from nearly 100 colors (Wikipedia, Neon sign). For your prompt that means the color is a choice, so make that choice yourself.
- Name color and position:
a pink neon sign on the left, a cyan sign deeper in the street. - Limit yourself to one or two colors. A street full of random neon colors becomes a funfair instead of atmosphere, while two complementary hues (pink and cyan, orange and blue) give you a cinematic look almost for free.
- Let the light land:
casting a soft pink glow on her cheek and the wet pavement. A neon sign that reflects on nothing floats loose from the scene. Wet asphalt should carry a colored reflection, skin a soft color cast on the side facing the sign.
Watch the brightness too. Models love to blow out light sources, turning the sign into a white blob. The sign glows softly, letters clearly readable keeps it under control.
Noise and banding: why dark areas turn stripy
Banding, those visible stripes in a dark sky, happens because an image has a limited number of shades per color channel: at 8 bits that is 256 per channel, and a smooth gradient gets rounded to the nearest shade. Gradual gradients such as skies are exactly where those steps become visible (Wikipedia, Colour banding). A night sky lives almost entirely in the darkest shades, so that's where you have the least room and see the steps first. Compression then makes it worse.
How to keep it in check:
- Give large dark areas some texture. Stars, thin clouds or light haze break up the smooth gradient that banding forms in.
- Ask for subtle grain.
subtle film grainmasks transitions and suits the night photography look. Don't ask for noise-free and pitch black at the same time, that is precisely the recipe for stripes. - Pick the right file format. Save images with large dark gradients as PNG, or export JPG at high quality. Heavy compression on a dark gradient is the fastest route to banding.
If one element spoils an otherwise good image, such as a blown-out sign or a stripy sky, you don't need to re-render everything. With the AI editor you regenerate just that area with a more precise description.
A night prompt that works
Build your prompt in this order and everything is covered:
- Time and place:
narrow city street, 2 a.m. - The only light sources plus color:
lit only by a pink neon sign and one distant streetlight - Where the light lands:
soft pink glow on her face and the wet pavement - Contrast and blacks:
low-key lighting, deep blacks, background falls to black - Texture against banding:
light haze, subtle film grain
Together: portrait of a woman in a narrow city street at 2 a.m., lit only by a pink neon sign and one distant streetlight, soft pink glow on her face and the wet pavement, low-key lighting with deep blacks, light haze, subtle film grain.
Frequently asked questions
Why is my AI night photo gray instead of black?
Because at "dark" or "night" the model often just turns down the exposure instead of creating real shadows. Ask for low-key lighting and deep blacks and describe the few light sources that do exist.
How do I prevent banding in a dark sky?
Give the sky some texture (stars, thin clouds, haze), ask for subtle film grain and save the image as PNG or high-quality JPG. Banding mainly forms in completely smooth, dark gradients that are then heavily compressed.
Which neon color works best?
Reddish-orange is the classic neon color, because pure neon gas glows that way by itself; other colors are real too, but pick at most two per scene. Complementary pairs like pink and cyan give you a cinematic look fastest.
Can I turn a daytime photo into a night photo?
Partially. Adjusting a small area works fine with inpainting, but a full day-to-night conversion rarely looks believable because shadow direction and reflections no longer match. Better to regenerate the scene with a night prompt.
Night is one of the most rewarding settings for AI images: little light means few places where things can go wrong, as long as that light makes sense. Create an account and try it in the photo generator. Start with one light source and one neon color, and only expand once the blacks look right. You pay per render, so testing doesn't cost you a subscription.