2026-07-06
Natural Skin in AI Portraits Without the Plastic Look
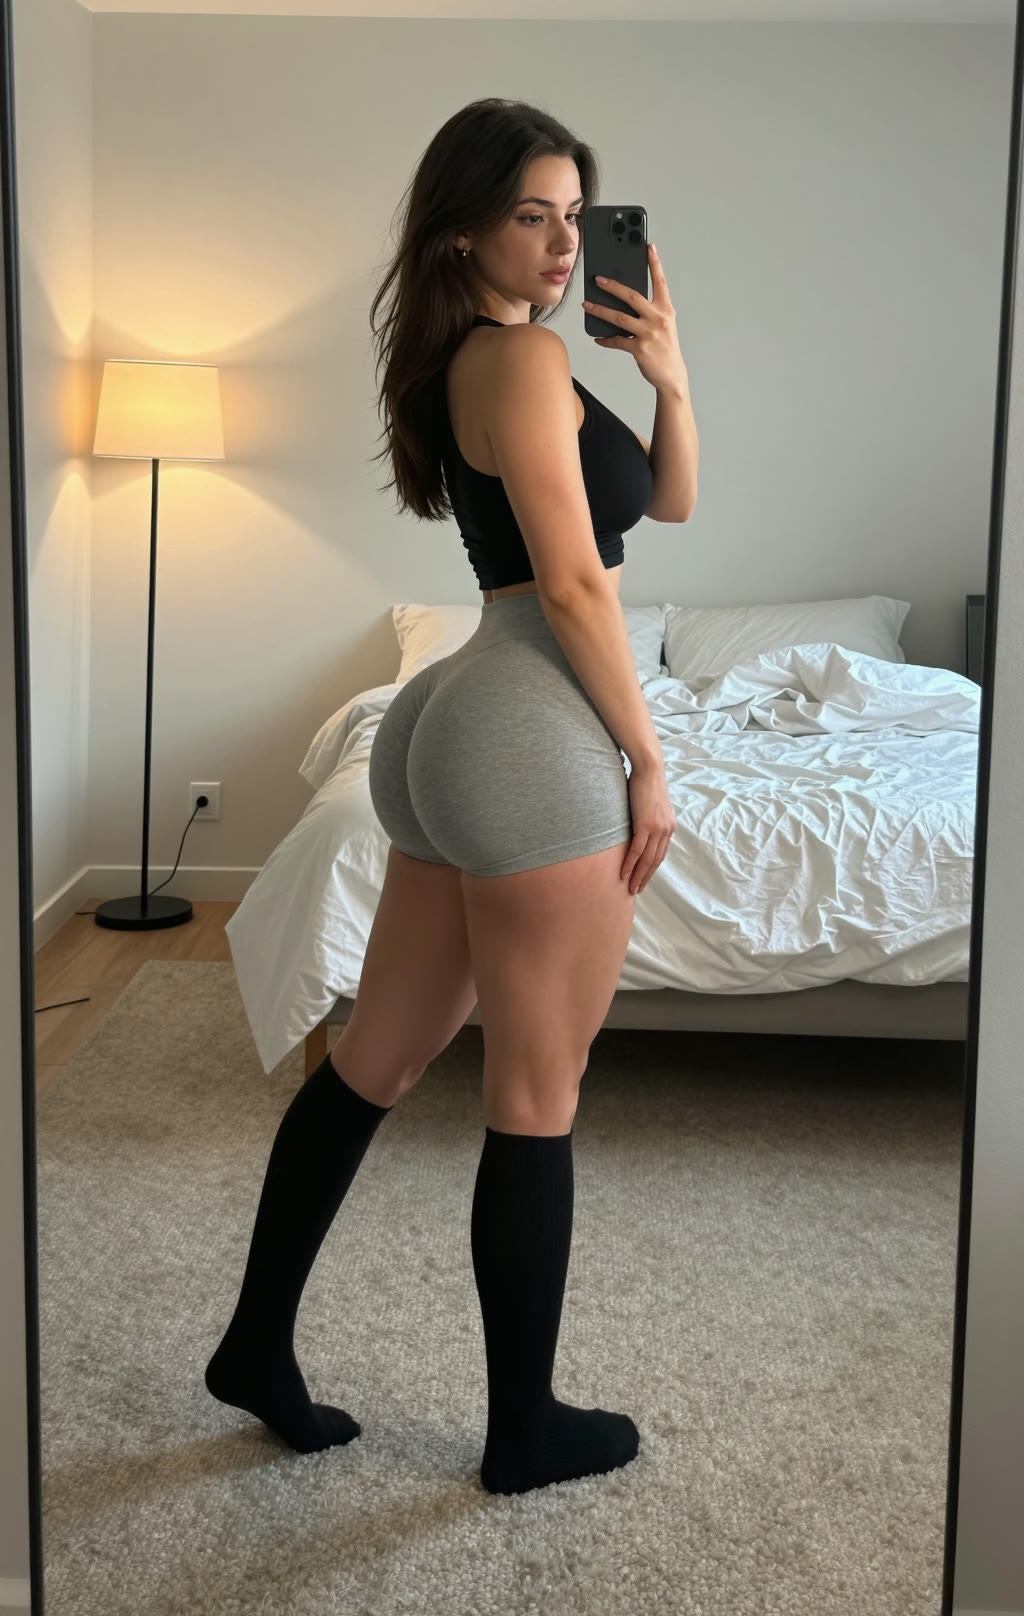
Skin is often the fastest way to spot an AI portrait. The image is right, the pose is right, but the face is too smooth: no pores, no fine lines, an even sheen that comes from nowhere. That plastic look is easy to avoid. It comes down mostly to what you ask for, how you light the shot, and how heavily you edit afterwards.
Why AI skin so often looks plastic
Image models are trained on huge amounts of photos, a large share of which are retouched or filtered. The model learns that "beautiful" means smooth and poreless, and that becomes the default it renders toward.
- A diffusion model averages many images. Pores, fine lines and small color variations disappear into that average, and the skin turns flat.
- Models don't really understand how light enters skin and scatters back out (subsurface scattering). The result is often an overly uniform sheen on cheeks and forehead.
- When upscaling, fine texture is sometimes read as noise and wiped away, after which sharpening pushes the edges even harder. That's how you get the waxy, over-crisp combination.
Ask for real texture in your prompt
Skin doesn't become realistic on its own; you have to ask for it explicitly. Name the texture you want to keep, as if you were describing a real photograph.
- Visible pores and fine lines, especially around the nose, the forehead and under the eyes.
- A slightly uneven skin tone with small color variations, instead of one even color.
- Peach fuzz and a subtle sheen on the high points of the face, like the bridge of the nose and the cheekbones.
Don't feel like typing that out every time? The prompt generator turns a short idea into a complete description, including this kind of texture detail.
Watch for words that erase texture
A single wrong word can override all your texture terms. Words like "flawless", "perfect", "glamour" or "beauty" push the model toward that smooth, retouched look.
- Swap "flawless beauty portrait" for "natural, realistic portrait". Small word choice, big difference.
- Does your model support negative prompts? Then add terms like plastic skin, waxy, airbrushed, doll and 3d render there, so the model steers away from them.
- Don't be afraid of small imperfections. A mole, a single wrinkle or a slight unevenness is exactly what makes a face believable.
Light the shot so texture shows
Texture only exists once light skims across it. Flat, frontal light optically wipes pores away; light from the side reveals them.
- Choose side light or light that falls at an angle, so pores and lines cast tiny shadows.
- Describe the light source concretely: soft window light from the left, golden late-afternoon sun, a hard studio flash. Each source draws the skin differently.
- Camera terms help too: an 85mm lens, a subtle grain and a natural white balance push the image toward photography instead of a smooth render.
Pick a sharp model and edit in moderation
The model and your post-processing decide just as much how much texture you keep.
- Choose a model that renders sharp detail, and test the same prompt on two models if you can. Then compare the skin at 100 percent zoom.
- Don't overdo the editing. Heavy sharpening or upscaling too far strips texture back off. Better one step less, and keep the grain.
- Is there a plastic patch in only one spot, like a too-smooth forehead? Then regenerate just that area with the photo editor, without touching the rest of the image.
Realistic skin isn't about adding more detail, it's about keeping the natural imperfections a real face has. Ask for texture, light from the side, and edit in moderation. Want to try it? Create an account and render your first portrait with real skin in the photo generator.