2026-07-10
Repairing an AI portrait with inpainting
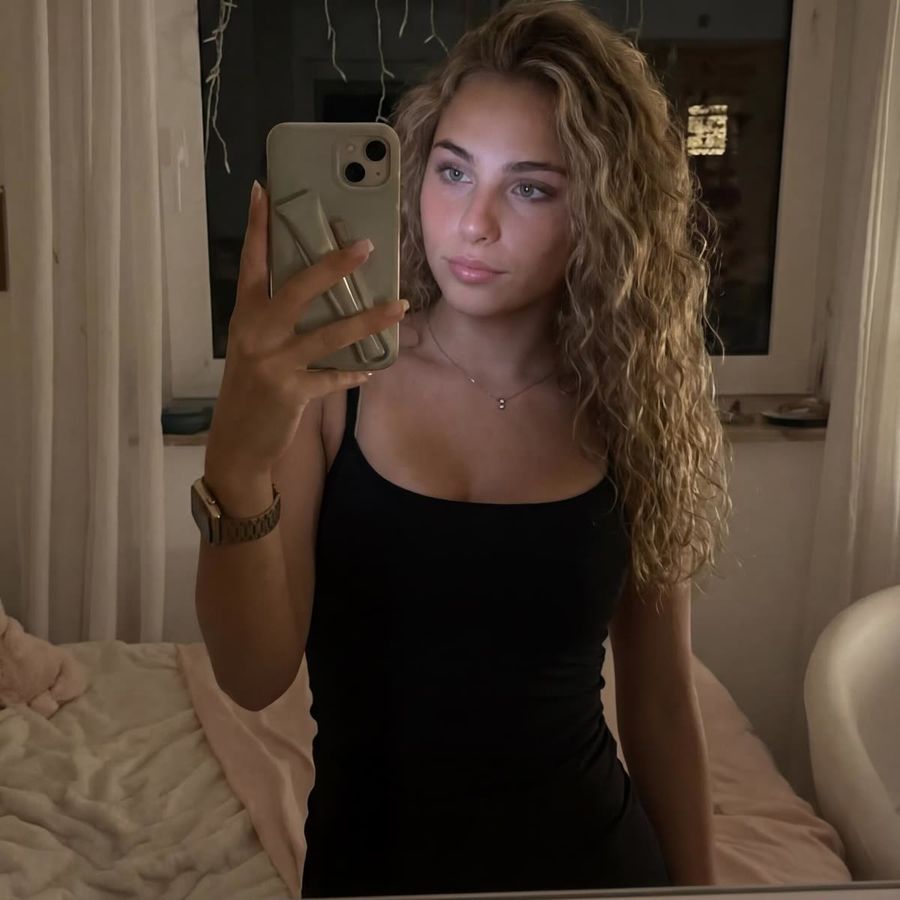
Inpainting is the fastest way to fix a single failed detail in an AI portrait: you mark only the problem area, such as a strange hand or a crooked eye, and let the AI regenerate exactly that spot while the rest of the photo stays put. So you don't have to remake the whole image and hope the rest turns out just as well.
That saves time and renders. Below you'll read how inpainting works, why hands and eyes go wrong so often, and how to repair a detail cleanly without losing the rest of your portrait.
What exactly is inpainting?
Inpainting is regenerating a defined part of an existing photo while the surrounding pixels stay untouched. You draw a mask over the area that needs redoing, optionally add a short description of what you want there, and the AI fills in only that part.
Under the hood, inpainting uses the same diffusion technique as a regular image generator. The difference is that the model only adds and removes noise inside your mask. As it does, it looks at the surrounding edges, colours, light and perspective, so the new piece connects logically to the rest.
In short: with normal generation you make a whole new image, with inpainting you repair a small part of an image that is already almost right.
Why do hands, eyes and mouths go wrong?
Hands are the hardest part for image AI because they are anatomically complex and rarely the focus of a photo. A human hand has 27 bones and more than 20 degrees of freedom (source: anatomical references such as Wikipedia and NCBI StatPearls). That huge variation in positions is hard to learn from flat training images.
On top of that, most image models work in 2D and have no real three-dimensional understanding of a hand. They know roughly what a hand looks like, but not how fingers connect anatomically. The result is the familiar failures: six fingers, fused knuckles or a thumb pointing the wrong way.
Eyes and mouths go wrong for a related reason: on a face, small deviations stand out immediately. A gaze that isn't quite aimed the same way, or teeth that blur into each other, make an otherwise lovely portrait unconvincing. These small, local errors are exactly what inpainting is meant for.
How to repair a detail step by step
- Pick your best render. Start with the photo that is right except for one detail. The better the base, the less you have to repair.
- Mask tight, but with margin. Draw the mask a touch wider than the flaw, so the AI has enough context to blend in seamlessly. Too tight gives a visible seam.
- Describe only what should appear. Keep the prompt short and concrete, for example "relaxed hand with five fingers" or "natural eyes looking at the camera". Don't describe the whole scene again.
- Generate and compare. View a few variations and pick the best. You usually have a usable result within a few tries.
- Repeat per problem. Fix one flaw at a time. Two small repairs in a row often give a cleaner result than one large mask.
You'll find this workflow in the AI Photo Editor, where you select an area and describe what should take its place.
When is inpainting smarter than regenerating?
Inpainting pays off as soon as most of your photo is already good. You keep the composition, the light and the likeness you already had, and pay only for the small piece you repair. With pay-per-render, that is the difference between a cheap repair and a fresh gamble on the entire image.
Regenerating makes more sense when the flaw is structural. If the pose is off, the whole composition is wrong or you want a different mood, you're better off going back to the photo generator. Inpainting is for the last five percent, not for a fresh start.
Tips for a seamless result
- Match the light. In your little prompt, name the same light direction and mood as in the photo, otherwise the repaired piece stands out.
- Work at enough resolution. In a small, blurry area the AI has little to go on. Better to repair before you shrink the image a lot.
- Widen the mask if you see a seam. If the result doesn't blend well, include a bit more surroundings and try again.
- Correct step by step. First the hand, then the eyes. Separate, small repairs are easier to steer than one all-encompassing edit.
Frequently asked questions
What is the difference between inpainting and regenerating a photo?
When you regenerate, you make a completely new image and lose everything that was already good. With inpainting you repair only the marked area, and the rest of the photo stays exactly the same.
Can I fix a wrong hand with inpainting?
Yes, that is one of the most common uses. Mask the hand, describe a natural pose with five fingers, and generate a few variations until it's right.
Does this save me money?
Usually yes. You repair one detail on purpose instead of re-rendering the whole image, so you only pay for that small repair instead of a full new render.
Does inpainting work on any photo?
Inpainting works on your own AI images and on regular photos. The sharper and higher the resolution of the area, the better the AI can reconstruct the detail.
Ready to finish your almost-perfect portrait? Create an account and repair that last detail instead of starting over.