2026-07-04
Image-to-image: using a photo as your starting point
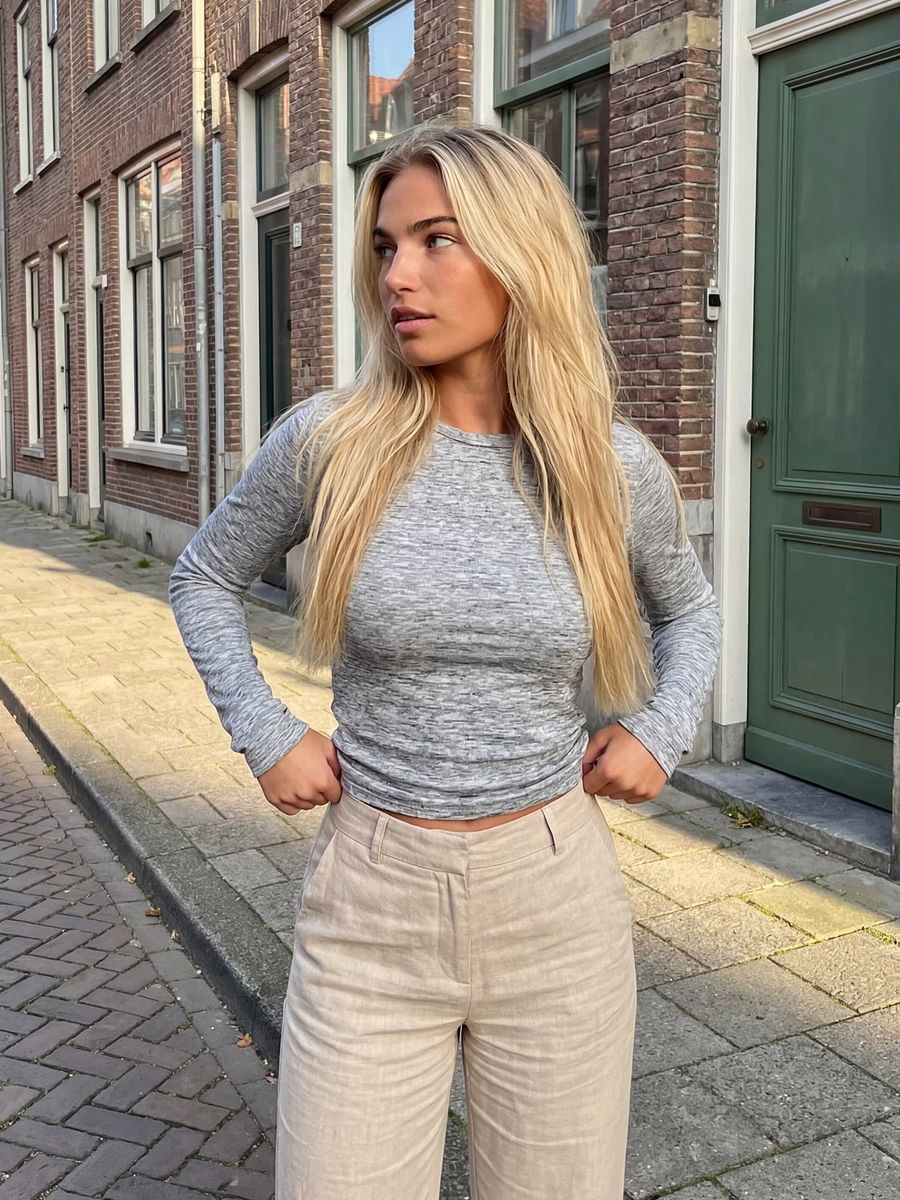
You have a photo that is almost perfect, but the background is wrong, the outfit does not fit the campaign, or you want the same person in a completely different scene. You do not have to start over from text. With image-to-image you use an existing photo as a starting point and let the AI create a new version of it. That way you build on what already works instead of gambling from scratch every time.
Text-to-image versus image-to-image
With text-to-image you start with a blank canvas: only your prompt shapes the image. With image-to-image you give the AI a reference photo alongside your prompt. The model uses that photo as its base and changes what you describe. The modern models behind the photo generator work by instruction: you upload an image and say in words what should change and what should stay the same.
That makes image-to-image more predictable than text alone. You do not have to describe the composition, the pose or the face again, because they are already in the reference.
When to use it
Image-to-image is strong the moment you have something to build on:
- Placing the same person in a new scene, location or outfit.
- Changing the style or mood of an image without losing the composition.
- Making variations on a successful photo for a series or an A/B test.
- Keeping a consistent look across several images.
- Dressing up a rough or casual photo into something finished.
If you only want to fix one small part, such as removing an object or repairing a hand, targeted editing with the AI Photo Editor is often handier than regenerating the whole image.
Steer with what stays and what changes
The most important dial in image-to-image is your own wording. Because the models work by instruction, your words decide how far the result may drift from the original.
- Want to stay close to the photo? State explicitly what should stay: "keep the face, the pose and the lighting, only replace the background with a city street at night."
- Want a bigger jump? Describe the new scene in more detail and name only the element you want to keep, usually the person.
Do not ask for too much at once. A new background, different clothing and a different camera angle all at the same time make the result unpredictable. Change in small steps and reuse a successful result as your new reference.
Pick the model that fits the job
Not every model treats a reference the same way.
- Nano Banana Pro is built for photorealism and keeps faces, skin and lighting natural. Useful when the person has to stay recognizable.
- Seedream can handle several reference images at once and is strong at style and consistent series. Useful when you want to carry a look across multiple images.
Start with a fast, affordable model to find the direction, and only switch to a premium 4K render once the composition is right. That way you do not pay for expensive renders while you are still searching.
Quality in, quality out
Image-to-image cannot work magic with a poor source. A sharp, well-lit reference gives a better result than a grainy or dark photo. Is your reference small or blurry? Enlarge it first with the Image Upscaler and then use the sharper image as your starting point.
From reference to final result
- Choose a strong reference photo: sharp, well lit, with the subject clearly in frame.
- Upload it in the AI Photo Generator and set the mode to image-to-image.
- Describe what changes and what stays, in one clear instruction.
- Generate, review, and adjust your instruction in small steps.
- Use the best result as the new reference for the next variant.
That way you get more out of one good photo instead of starting over every time. Create an account and use your best image as the starting point for the next one.