2026-07-15
Replacing a background: your subject in a new scene
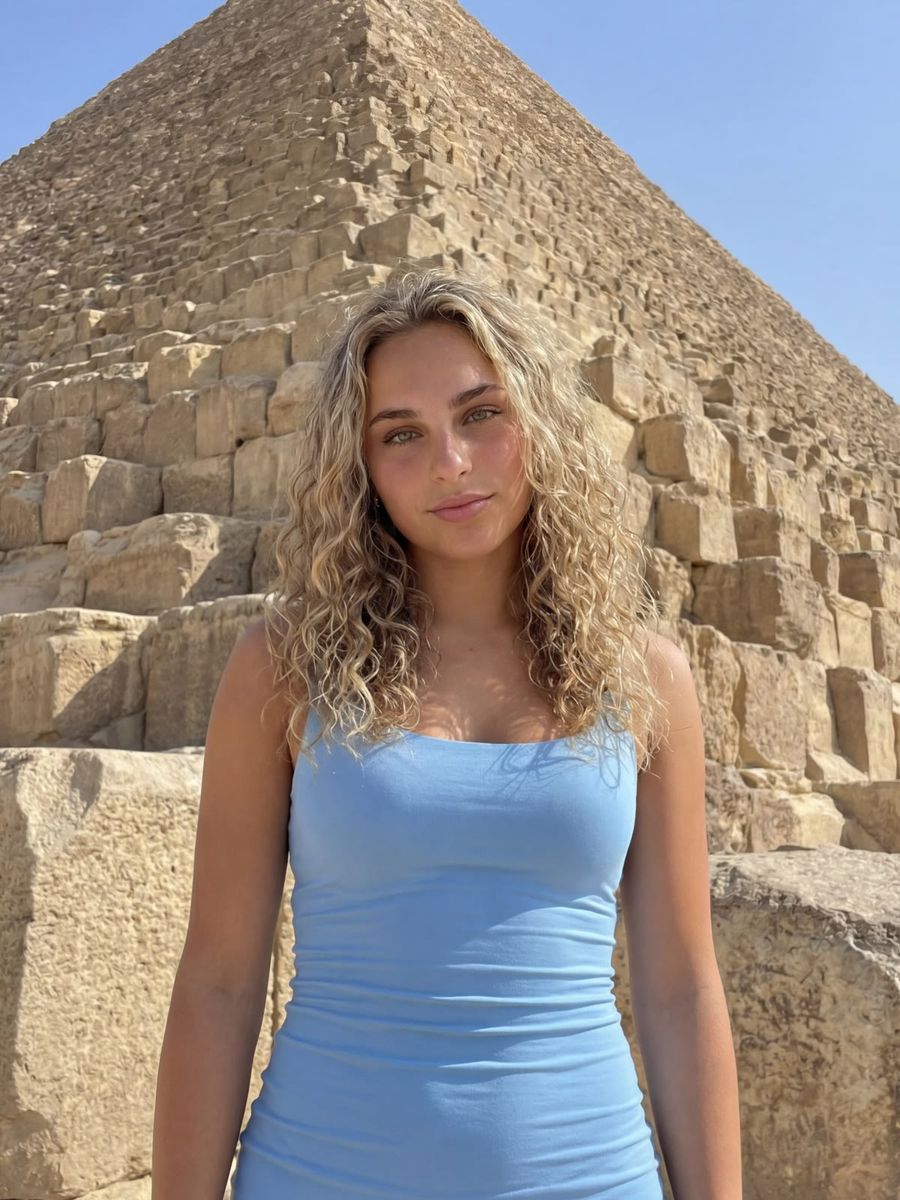
You replace a background believably by matching three things: a soft, semi-transparent edge around your subject, a background shot from the same camera position with a similar depth of field, and a light and colour mood that fits the new scene. The cut-out itself is the easy part these days. When a composite still looks pasted on, it is almost always down to the other two steps.
Why a cut-out subject looks pasted on
There are three usual suspects: an edge that is too hard, a colour and brightness mismatch with the scene, and a perspective that does not line up. What is interesting is which of the three viewers actually notice.
Perception research shows the human visual system is remarkably insensitive to inconsistent illumination within a scene: viewers do not check local estimates of lighting direction against each other (Ostrovsky, Cavanagh and Sinha, Perception, 2005). A lighting direction that is slightly off often goes unpunished.
What people do notice is the edge and the colour tone. That is exactly where harmonisation research focuses, though it is not enough on its own: existing harmonisation techniques mostly adjust the global colour and brightness of the foreground and ignore lighting cues from the background such as apparent lighting direction, which leads to unrealistic composites (Ren et al., Relightful Harmonization, CVPR 2024). So start with the edge and the colour, then keep the lighting direction broadly plausible.
Cutting out: why a soft edge makes the difference
A good cut-out is not a yes-or-no decision per pixel but an alpha channel with values in between. Alpha matting is the technique that decides how transparent each pixel is, instead of only whether it belongs to the foreground.
That difference is what saves hair, fur, tulle and smoke. In the W3C PNG specification an alpha channel has 8-bit or 16-bit samples, where a value of zero means fully transparent and the highest value means fully opaque. At 8 bits that is 256 levels per pixel: enough to carry a stray lock of hair at, say, 30 percent opacity instead of clipping it away.
In practice:
- Use matting, not a hard mask. A binary mask gives you "helmet hair": a tight contour where loose strands should be.
- Check at 100 percent zoom. Look at hairlines, glasses, shoulders and hands against the new background.
- Watch the edge colour. Edge pixels still carry traces of the old background. Against a dark scene, a light halo shows up immediately.
- Save the cut-out as PNG. JPG has no alpha channel, so your transparency is lost.
The cut-out itself takes seconds with background removal.
How do you pick a background that fits?
Pick a background that matches your subject's camera, not just the mood. Run through these four before you paste anything:
- Camera height and angle. If your subject was shot at eye level, a background clearly taken from below will fight it.
- Focal length. A portrait with telephoto compression does not sit well in a wide-angle scene with strongly diverging lines.
- Depth of field. A sharp subject on a fully sharp background reads as flat; a slight blur behind your subject is often enough.
- Lighting direction and colour temperature. If the sun is on the left in the scene and on the right on your subject, that is the one inconsistency worth fixing.
Matching light and colour
Match the colour tone first, then the shadow, then the grain. That order gets you there fastest:
- Colour cast. Let the dominant colour of the scene bleed lightly into your subject's shadows. Blue hour means cool shadows, on your model too.
- Contact shadow. A small shadow where your subject meets the ground or a wall anchors them in the scene. Without one, people float.
- Brightness. A subject that is too bright for a dark scene reads as a sticker. Pull the highlights back.
- Grain and noise. Scale and noise level need to match. A clean AI render on a grainy background keeps standing out.
You do this finishing work in the AI editor, where you can touch up specific areas without regenerating the whole image.
When regenerating beats cutting out
Regenerate as soon as the light on your subject fundamentally does not fit the scene. A backlit portrait pasted into a flat studio set rarely becomes convincing through retouching.
Two alternatives:
- Image-to-image. Use your photo as a reference in the photo generator and describe the new scene plus the light. The model draws subject and background in one pass, so edge, light and colour match by definition.
- Placing a person in a scene. With Swap Studio you combine a face photo with a scene or outfit reference into a single image, instead of gluing two images together afterwards.
Because you pay per render and top up credit yourself, you can put a few variants side by side cheaply and keep the best one.
Frequently asked questions
Why does my cut-out subject look hard-edged?
Almost always because of a binary mask instead of alpha matting. Without intermediate transparency values the semi-transparent hair edges disappear and you are left with a stamped-out contour.
Which format should I save a cut-out subject in?
PNG, because it supports an alpha channel with 8 or 16 bits per sample according to the W3C specification. JPG has no transparency and fills your background with white.
Does the lighting direction have to be exact?
No. Viewers are poor at spotting inconsistent lighting direction (Perception, 2005), so broadly plausible is usually enough. A wrong colour tone or a missing contact shadow gets noticed far sooner.
Replacing a background is less a cutting job than a matching job: edge, camera, light and colour. Work through those four in a fixed order, and when the light is the problem, regenerate the scene in one pass instead. Create an account and try it on your own image.